Top-Rated Drywall Fort Worth Services for Residential Projects
Top-Rated Drywall Fort Worth Services for Residential Projects
Blog Article
Drywall Installation Made Easy: Tips for Perfect Results
Drywall setup is commonly perceived as a challenging task, yet with the best approach and knowledge, it can end up being a workable venture. Choosing high quality materials and preparing the setup area are important initial actions that set the structure for success. Understanding methods for reducing, hanging, and ending up drywall can dramatically influence the outcome. As we explore these vital pointers, you may find that even the smallest changes in your method can lead to incredibly enhanced outcomes, leaving you to take into consideration exactly how these methods can change your following job.
Selecting the Right Products
Picking the suitable materials for drywall installment is vital to attaining a long lasting and aesthetically pleasing coating. drywall contractor. The primary part, drywall sheets, normally come in numerous densities, with 1/2-inch sheets being common for interior wall surfaces. For locations needing added dampness resistance, such as restrooms or cooking areas, take into consideration using green board or concrete board, which are specifically created to hold up against humidity
Furthermore, selecting the right bolts-- either nails or screws-- is necessary for securing the drywall to the framework. Drywall screws are typically preferred for their holding power and lowered risk of popping. Lastly, consider the finishing touches such as guide and paint, which not only enhance the appearance however likewise shield the drywall from wetness and wear.
Preparing the Setup Area
Prior to starting the drywall installation process, it is vital to prepare the installation area completely. This preparation includes several critical actions to guarantee a smooth and successful job. Initially, clear the location of any furnishings, appliances, or blockages that can hinder accessibility. A clean work space minimizes the threat of damages to existing items and enables effective movement throughout setup.
Following, check the walls and ceiling for any type of imperfections, such as cracks, holes, or mold and mildew. Address these problems beforehand; patch any damages and enable sufficient time for repair work to dry. In addition, make sure that electric outlets, switches, and pipes are correctly placed and made up, as this will affect drywall positioning.
Think about the environmental conditions. A secure temperature level and humidity level are crucial for optimal adhesion and efficiency of the drywall products. Utilize a dehumidifier or heating unit to produce appropriate conditions. if necessary.
Cutting and Hanging Drywall
The trick to reliable drywall installation hinges on the precise cutting and hanging of the panels. Begin by gauging the room properly, taking into consideration any kind of blockages such as electric outlets or home windows. Make use of a straight edge and an utility knife to score the drywall along your dimensions, then snap it along the scored line for a clean break. For even more elaborate cuts, such as around outlets, a drywall saw can be utilized for precision.
Constantly function from the top down and delegated right, ensuring that you preserve a staggered pattern to boost stability. special info Effectively hanging the drywall establishes the foundation for a smooth surface, inevitably causing superior cause your drywall task.
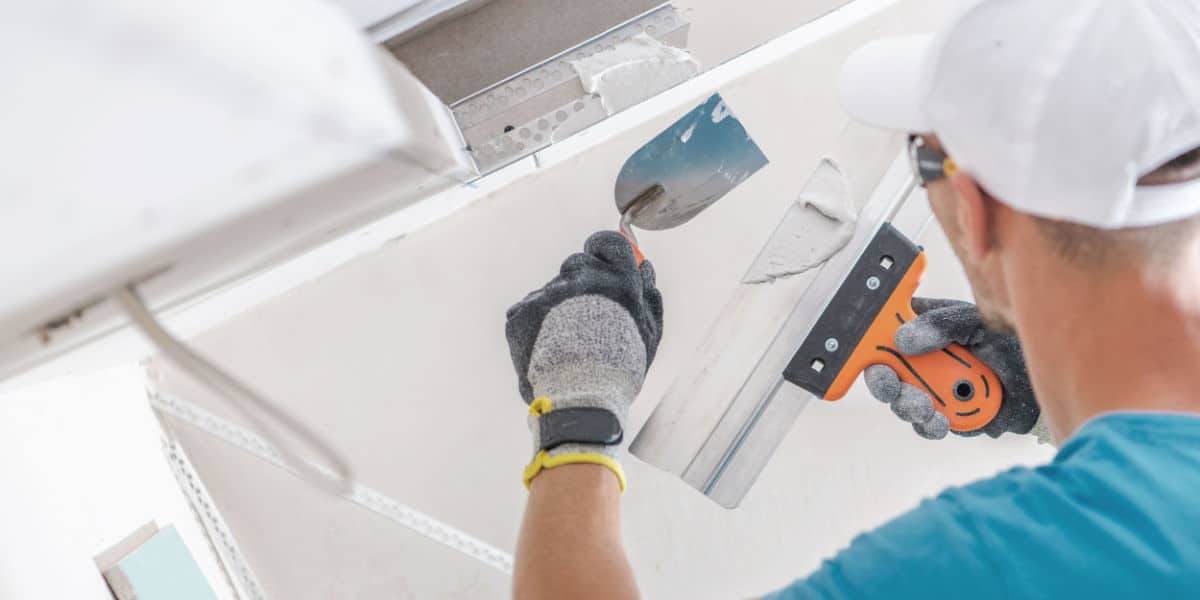
Taping and Mudding Methods
While correct cutting and hanging of drywall sets the phase, the following important action involves grasping taping and mudding strategies to ensure a seamless finish. Insulation is vital for reinforcing joints and stopping splits; it involves installing tape right into the used joint compound (mud) Begin with a top quality fiberglass or paper tape, applying the tape over the joint and pushing it right into the damp mud utilizing a taping knife, making sure no air bubbles remain.
Once the tape is in place, use a thin layer of joint compound over the tape, feathering the edges to develop a smooth shift to the drywall surface. Allow this layer to completely dry entirely prior to sanding it lightly to get rid of blemishes. Repeat this procedure, applying added coats of mud as necessary-- generally 2 to 3 layers-- while progressively widening the application area with each layer to accomplish a seamless look.
After the final coat dries, sand the surface with a fine-grit sandpaper until smooth. drywall contractor. Keep in mind to use a mask during sanding to avoid breathing in dirt fragments. Understanding these taping and mudding strategies is vital for achieving a professional-quality surface in your drywall installation
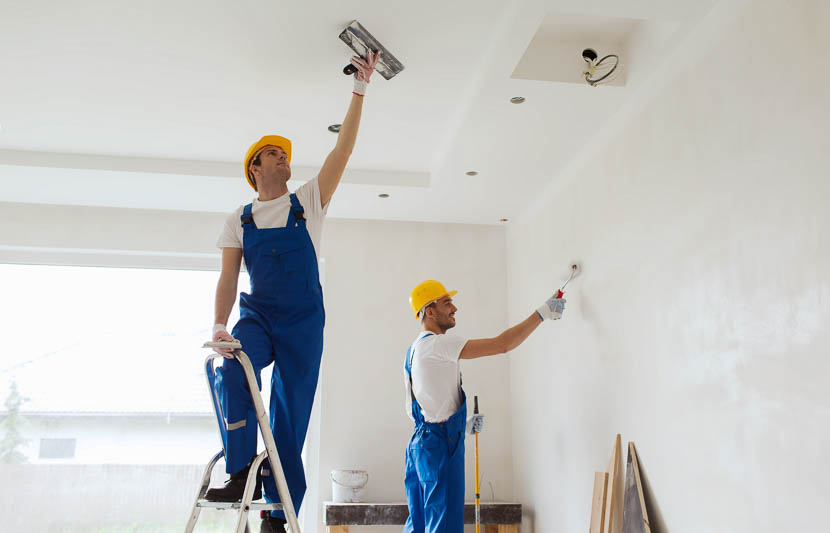
Finishing Touches for Excellence
Attaining a perfect drywall setup surpasses mudding and taping; it finishes in the ending up touches that raise the overall appearance. These last steps are important in guaranteeing a professional-grade finish that boosts the aesthetics of your room.
Begin by sanding the dried out joint compound to develop a smooth surface. drywall installation. After fining sand, wipe down the wall surfaces with a damp towel to remove any type of dirt particles, making certain a clean surface area for paint.
Following, use a primer especially developed for drywall. This action is essential, as it helps secure the joint compound and gives a consistent base for the overcoat. When the guide dries out, inspect for any type of imperfections, and touch up as needed.
Verdict
Finally, successful drywall installment hinges on the cautious selection of products, detailed prep work of the installation location, and why not try these out precise implementation of cutting and hanging techniques. Proficiency of taping and mudding processes is crucial for achieving a smooth finish. In addition, interest to ending up touches, including priming and touch-ups, makes sure a professional-grade outcome. By sticking to these standards, the top quality of handiwork can be significantly enhanced, adding to the general visual and capability of the area.
Drywall setup is usually regarded as a complicated job, yet with the right strategy and expertise, it can come to be a convenient undertaking.Choosing the ideal materials for drywall setup is essential to achieving a durable and visually pleasing surface.Before starting the drywall setup process, it is crucial to prepare the installment area extensively. Grasping these taping and mudding strategies is vital for attaining navigate here a professional-quality finish in your drywall installment.
In verdict, effective drywall setup pivots on the mindful choice of materials, detailed prep work of the installation location, and accurate execution of cutting and hanging techniques.
Report this page